

Window Blind Installation Methods: Inside, Outside, Top, Side and No-Drill
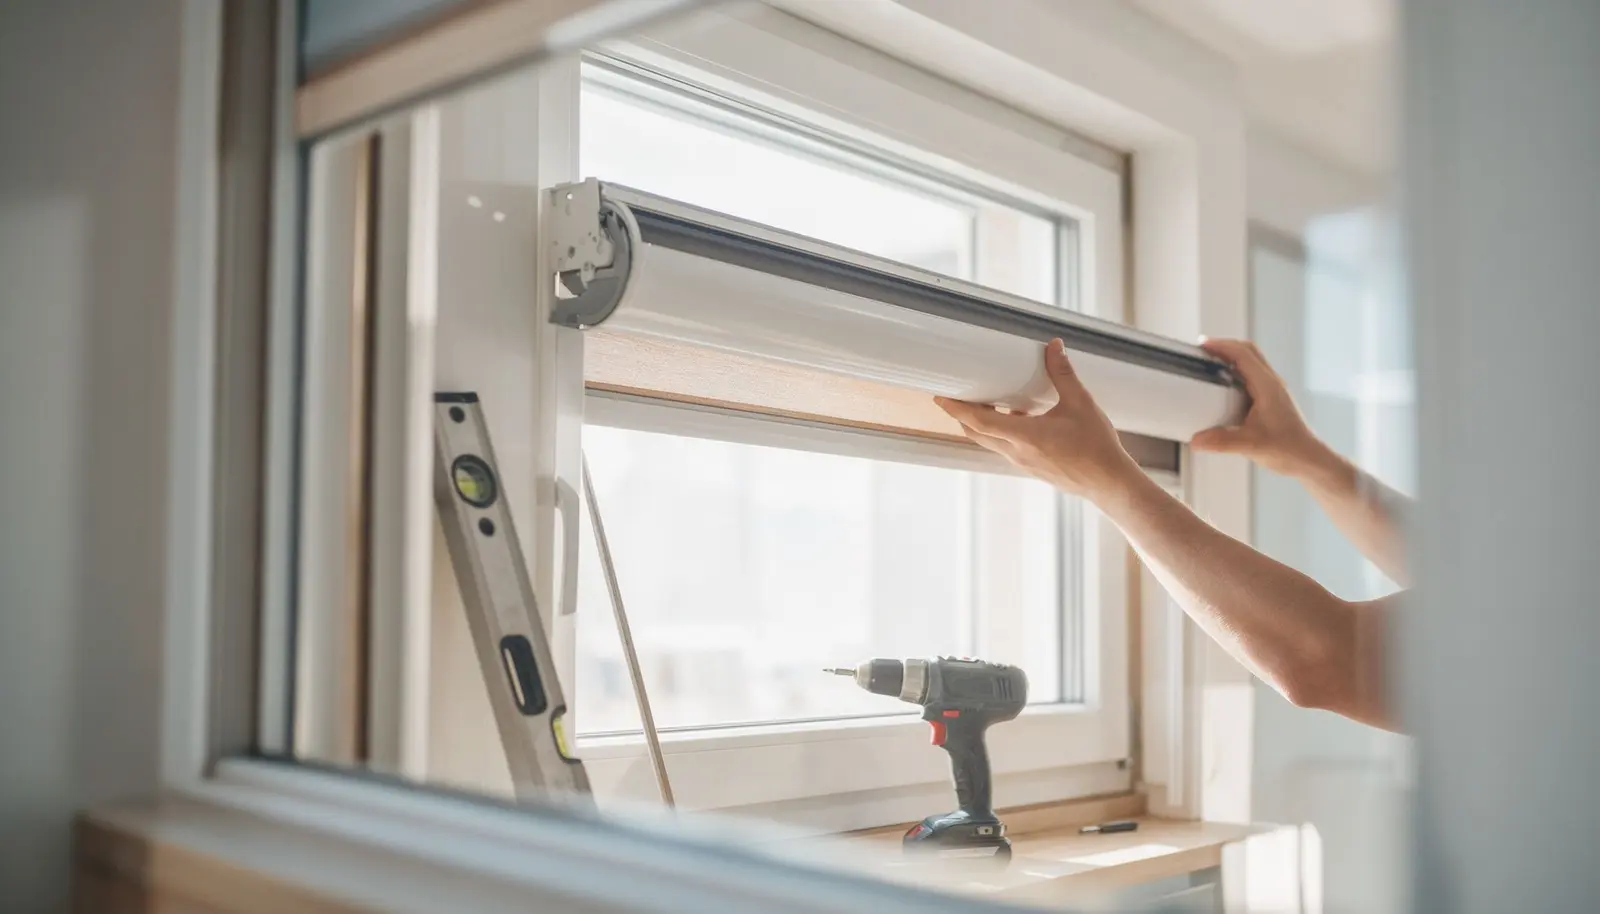
Installation method is a sourcing decision, not an installer detail. It sets how ready-made sizes are calculated, what goes in the fitting kit, and which markets the product suits. European recesses are deep and inside mount dominates, with a mature rental no-drill segment; North American recesses vary and outside mount is common. If you plan ready-made ranges or fitting kits without fixing these differences first, the wrong blind arrives at the wrong window. We build easyfix no-drill lines for exactly this reason, and the notes below are the selection logic we use with buyers.
Key takeaways
- Inside mount takes the smallest width (reduced 1-2 cm) and the largest height, and needs the recess depth to beat a product-specific minimum (roller about 7-10 cm, zebra 8-12 cm, aluminum venetian 5-8 cm).
- Outside mount adds 10-15 cm to width and 15-20 cm to height, and is the only reliable option for inward-opening windows.
- No-drill (Easyfix / Klemmfix) is a growth category in European rentals, but load-bearing is limited and inward-opening sashes must be checked for interference.
- Tilt-and-turn windows are the critical case for Europe: both the tilt and side-hung modes can clash with an inside-mounted blind, and this must be checked before specifying.
The five installation methods
Inside mount (recess fit)
The blind sits inside the recess, roughly flush with the wall. It needs a recess deep enough for the product, a flat interior without protruding handles, and fixing space on both sides. Measure width at three points (top, middle, bottom) and take the smallest, then reduce finished width by 1-2 cm for clearance; measure height at three points and take the largest. Inside mount looks clean and blocks light well, but it is impossible if depth is short and leaks a little light at the two sides.
Outside mount (face fit)
The blind mounts on the wall or frame face, covering the frame and surrounding wall. Use it when recess depth is insufficient, the frame is irregular, better light blocking is needed, or the window opens inward. Width is frame outer width plus 10-15 cm (about 5-7.5 cm per side), and height is frame outer height plus 15-20 cm (10-15 cm above for the cassette, 5 cm below for margin). Outside mount fits almost any window and blocks light better, but it protrudes, occupies wall space, and requires drilling.
Top fix (ceiling mount)
Brackets fix to the recess top or ceiling and the blind hangs down. It suits tall or floor-to-ceiling windows, room dividers, and cases where the recess sides are too narrow for side fix. It saves recess side space and looks like it raises the ceiling, but it needs a strong top surface (plasterboard ceilings need reinforcement) and awkward access when the ceiling is high.
Side fix (face mount)
Brackets fix to the recess sides or the wall. It is the most common fixing method, needs no top space, and carries well on a wall. Inside side fix still needs about 2-3 cm of flat recess side, and narrow frames may only allow top fix.
No-drill (Easyfix / Klemmfix)
No drilling: a tension rod presses between the recess sides, a clamp grips the frame edge, or an adhesive strip sticks to the frame. It is rental-friendly, fast, reusable and easy to remove. But load-bearing is lower than drilled fixing, clamps can mark the frame, tension rods can lose tension over time, and it suits light blinds only. Clamp type usually needs a frame edge of about 1-5 cm, and inward-opening sashes must be checked against clamp brackets.
Compatibility by blind type
| Blind type | Inside | Outside | Top fix | Side fix | No-drill | Min. inside depth |
|---|---|---|---|---|---|---|
| Roller blinds | Yes | Yes | Yes | Yes | Yes (tension / clamp) | 7-10 cm |
| Zebra blinds | Yes | Yes | Yes | Yes | Conditional (selected models) | 8-12 cm |
| Aluminum venetian | Yes | Yes | Yes | Yes | Conditional (small sizes) | 5-8 cm |
| Faux wood / wood venetian | Yes | Yes | Yes | Yes | No (too heavy) | 6-9 cm |
| Cellular (honeycomb) shades | Yes | Yes | Yes | Yes | Yes (clamp / side track) | 5-8 cm |
| Roman shades | Conditional (depth required) | Yes | Yes | Yes | No | 10-15 cm |
| Vertical blinds | No | Yes | Yes | Conditional | No | N/A |
Yes = commonly compatible; Conditional = confirm the specific model and size; No = not recommended.
Measurement and fitting kit checks
Measure width and height at three points. For inside mount take the smallest width and largest height; for outside mount take the largest. Always measure recess depth and confirm it clears the product minimum, and record the frame material (solid wall, plasterboard, wood or metal) because fixing differs. Cassette models need extra depth; cassette-free profiles need less, and side channels reduce inside-mount light leakage.
The B2B fitting kit should include top and side fix brackets (or at least two fixing methods), screws and wall plugs matched to the target market, any required Allen key, installation instructions in the market language, and child safety devices on cord-operated products.
Window opening style: the mandatory interference check
Before any inside or outside mount, confirm how the window opens. This is the most common source of end-user complaints. Inward-opening casement and tilt-and-turn windows clash with an inside blind because the sash opens inward; you must measure the gap at maximum opening and confirm the blind thickness fits, otherwise switch to outside mount or a slim cassette-free profile. Tilt-and-turn windows dominate European homes and must be checked in both tilt and side-hung modes. Awning windows open outward and upward, so the top cassette is the risk point. Even outside mount needs a check: a thick-cassette blind or vertical track can be hit by an outward-opening sash. Sliding windows themselves are fine, but keep the blind off the sash handles.
| Opening style | Inside mount impact | Outside mount impact | Where common |
|---|---|---|---|
| Inward-opening casement | High risk: blind or cassette jams the sash | Low | Older European buildings |
| Tilt-and-turn | Very high risk: both modes can interfere | Low | Most of Europe (DE / FR / Nordic) |
| Outward-opening casement | Low | Medium: protrusion may hit the opening sash | Nordic / parts of UK |
| Awning | Medium: top cassette may interfere | Low | All markets |
| Hopper (inward top-hung) | High risk: blind jams the sash | Low | Less common |
| Sliding (horizontal) | Low | Low | All markets |
| Double-hung sash | Low | Low | North America |
| Fixed | None | None | All markets |
Market preference at a glance
| Market | Inside mount | Outside mount | No-drill demand | Notes |
|---|---|---|---|---|
| Western Europe (DE / FR / UK) | High | Medium | High (German Klemmfix mature) | Deep recesses, inside mount dominant, tilt-and-turn common |
| Nordic | High | Low | Medium | Standardised windows, inside mount dominant |
| North America (US / CA) | Medium | High | Low | Outside mount common, variable recess depth, double-hung windows |
| Australia / New Zealand | Medium | High | Low | Outside mount dominant, strong roller and venetian take-up |
| Middle East | Low | High | Low | Large windows, outside and top fix dominant, vertical demand high |
| Southeast Asia | Low | High | Low | Irregular frames, outside mount dominant |
Sourcing recommendations
Match method to market: Europe means inside mount plus no-drill, North America and Australia mean outside mount. Label each ready-made blind with supported methods, minimum inside depth, kit contents and compatible window openings. Fit kits must be complete and use market-compatible screws and wall plugs. Treat no-drill as a growth line, but state load-bearing limits and compatible frame ranges. Confirm minimum inside depth per product, since cassette and cassette-free models differ. Put the tilt-and-turn compatibility note in every European specification, give long side-fix brackets so the blind can offset outward clear of the sash, and ship instructions in the market language.
Bottom line
Inside mount is a depth-and-measurement decision; outside mount is the safe fallback for inward-opening windows; no-drill is the rental growth category. Specify all three up front and the blind will fit the window it was measured for. For the size conventions behind inside and outside measure, see the European window blind sizes guide and the North American sizes guide. A ready example of the no-drill category is our Easyfix zebra blinds.